This page outlines the necessary steps and processes to follow in order to successfully set up the Azure B2C User Management Full Website in your server environment. This software requires minimal setup to run in any .Net Core 8 environment. If you run into issues or need support, please reach out at hello@parkasoftware.com
Prerequisites: Before installing the B2C User Management Full Website, ensure that you have the following prerequisites:
- Microsoft .NET Framework installed (version 8 or higher).
- Access to an Azure B2C subscription with administrative rights.
- Created and access to valid Azure B2C tenant.
- Created a new app registration within the tenant for this software.
- Recorded client id, client secret and tenant id
- Basic understanding of .NET development and Azure B2C user management.
Registering a New App in Azure B2C Tenant:
You will need to register a new app in your Azure B2C tenant for this application to function properly, perform the following steps:
- Sign in to the Azure portal and navigate to the Azure Active Directory B2C service.
- Select “App registrations” and then click on “New registration”.
- Provide a name for your application and select the appropriate supported account types.
- Enter the Redirect URI for your application.
- Click on “Register” to create the new app registration.
- Record the client id of the newly created app.
Obtaining Client ID, Creating a Secret, and Getting Tenant and Instance IDs:
After registering the app in Azure B2C, follow these steps to obtain the necessary IDs and secrets:
- Note down the Application (client) ID from the new app, which serves as the Client ID for your app.
- Under the “Certificates & secrets” section, generate a new client secret and note down the generated secret value.
- Obtain the Azure B2C Tenant ID and Instance ID from the Azure portal.
Setting Appropriate API Permissions:
Ensure that your newly created app has the following delegated Graph API permissions. These permissions can be set in the “API permissions” section of your app registration in the Azure portal.
User.ReadWrite.All: Allows the application to read and write all users’ full profiles.IdentityFlow.Read.All: Allows the application to read all identity flows.Applications.Read.All: Allows the application to read all applications.
After the Azure setup has been completed, you can install and configure the website software.
Installation Steps:
- Download the B2C User Management Full Website:
- Visit the download page to purchase the B2C User Management Full Website.
- Save the downloaded file to a location on your computer.
- Extract the Library Package:
- Locate the downloaded B2C User Management Full Website package (.zip file) on your computer.
- Extract the entire contents of the zip folder into a location on my computer or the destination server
- Open IIS or other web server software
- Create a new website that has a root as the unzipped B2C User Management Full Website folder.
- Configure Azure B2C Connection Settings:
- Open the appsettings.json from the root directory of the website.
- Add the necessary Azure B2C connection settings such as Tenant ID, Client ID, Client Secret, etc that were created in the previous steps. These settings will be provided by your Azure B2C subscription.
- Ensure that the connection settings are correctly configured to establish a connection with your Azure B2C tenant.
- Test integrations
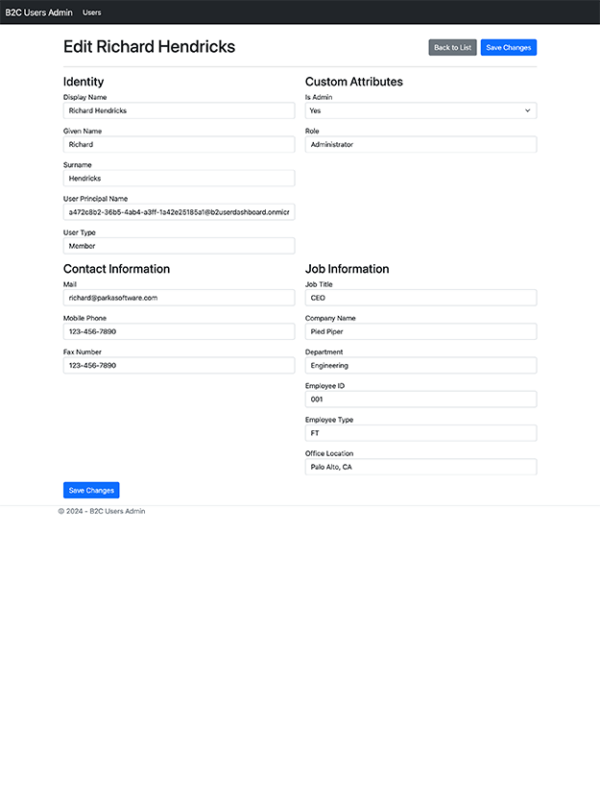
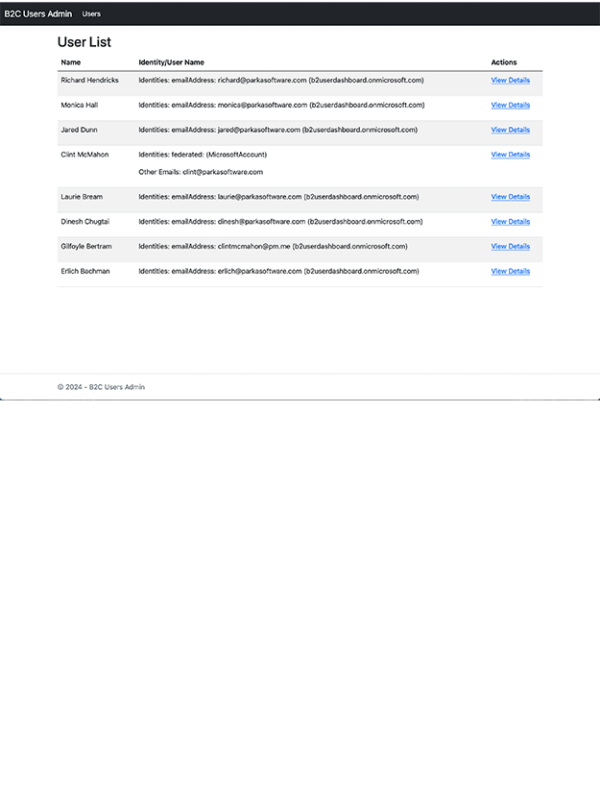
- Navigate to the root domain of the configured IIS website to see a list of the Azure B2C users in your configured tenant
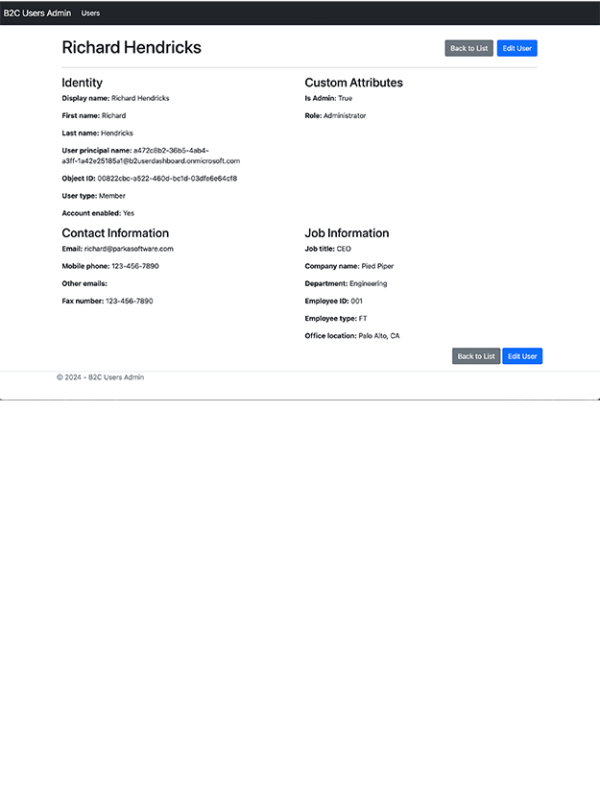
Congratulations! You have successfully installed the B2C User Management Full Website application. You can now utilize its functionalities to manage users in Azure B2C, including viewing and updating custom extension attributes and properties.

Reviews
There are no reviews yet.